Entire Screen
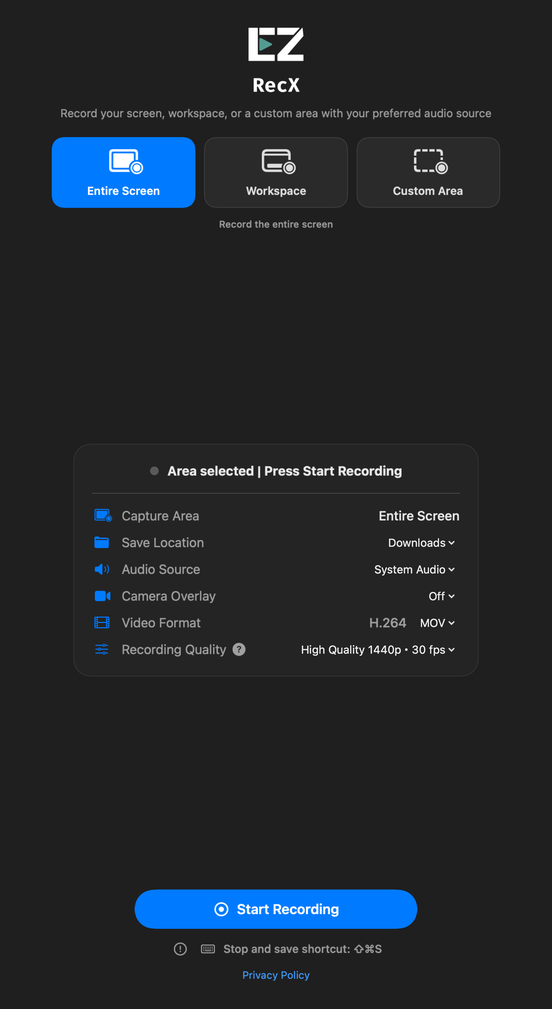
Keep the full picture. Ideal for software demos, presentations, and workflows that move between apps.
SCREEN · AUDIO · CAMERA
A walkthrough. An idea. A lesson.
Capture your screen and sound with EZ RecX.
Then shape the recording right on the timeline.
macOS 26.0 or later
01 / CAPTURE YOUR WAY
From the entire screen to a small detail,
you decide what goes into the frame.
Keep the full picture. Ideal for software demos, presentations, and workflows that move between apps.
Leave out the menu bar and Dock to focus on your desktop workspace. This is not single-window capture.
Drag to select, or enter an exact width and height. Keep the focus on the content you want to show.
02 / MAKE YOURSELF HEARD
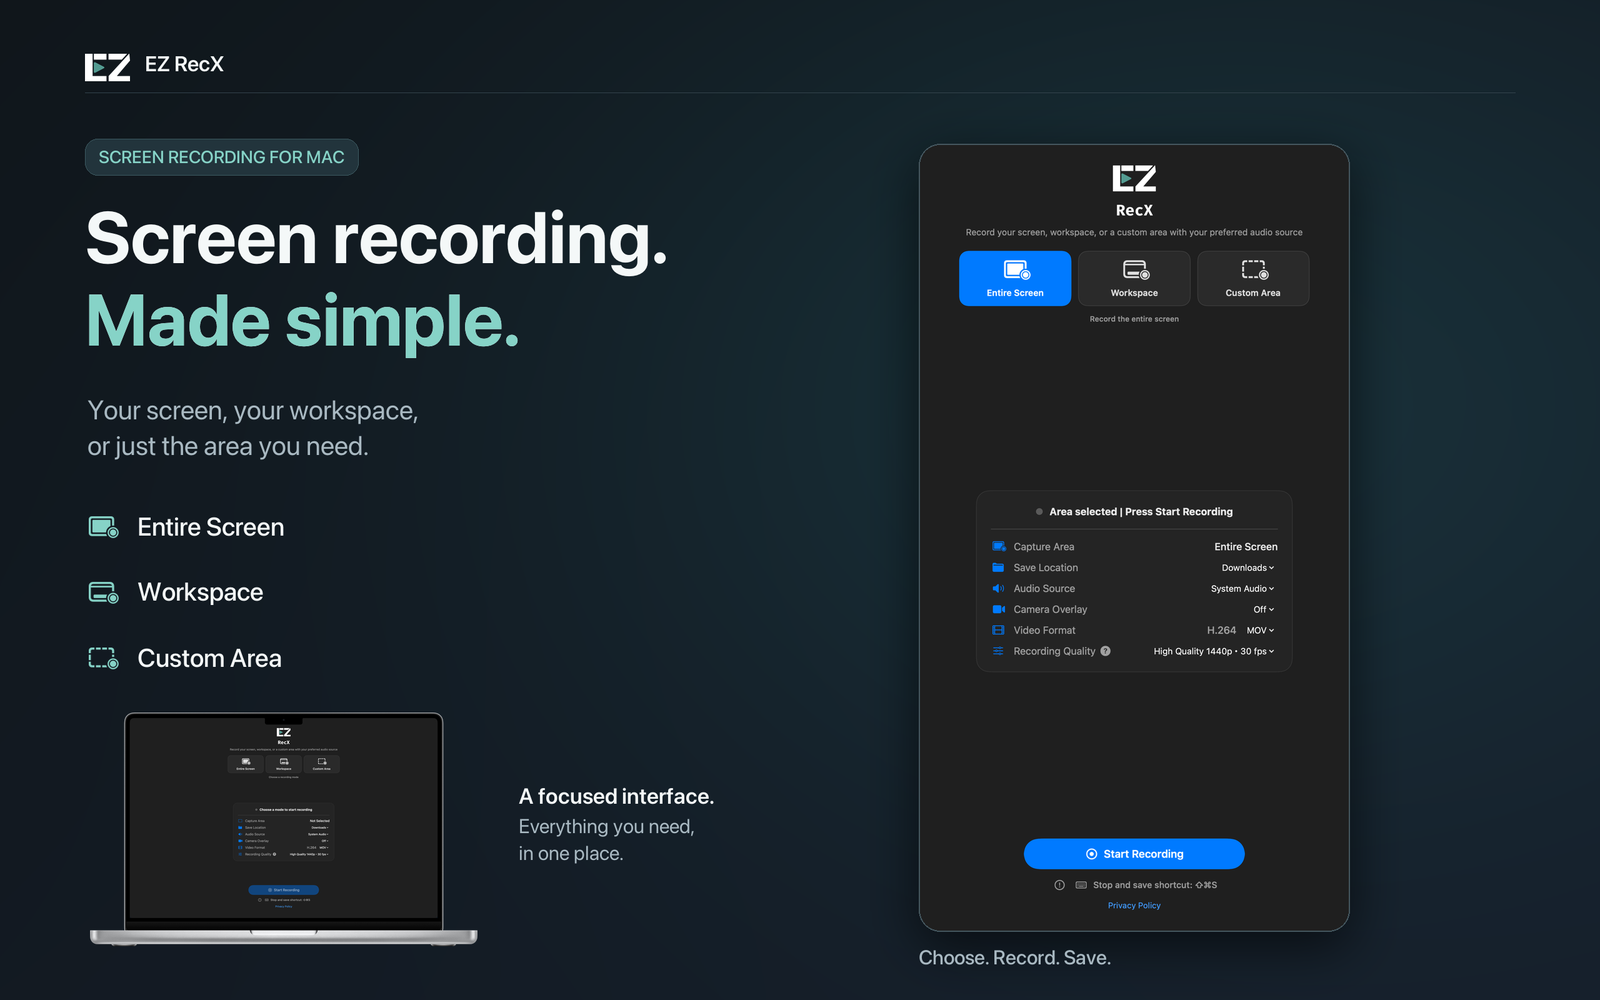
Choose system audio, your microphone, or both.
Add your camera to give every explanation a personal touch.
Capture the audio playing on your computer alongside the screen.
Explain each step with your microphone, or turn audio off and record just the screen.
Include your camera image to guide viewers through your demonstration.
03 / EDIT YOUR RECORDING
Split, trim, and move clips or adjust audio right in the recording preview. Save the version you want to share while keeping the original untouched.
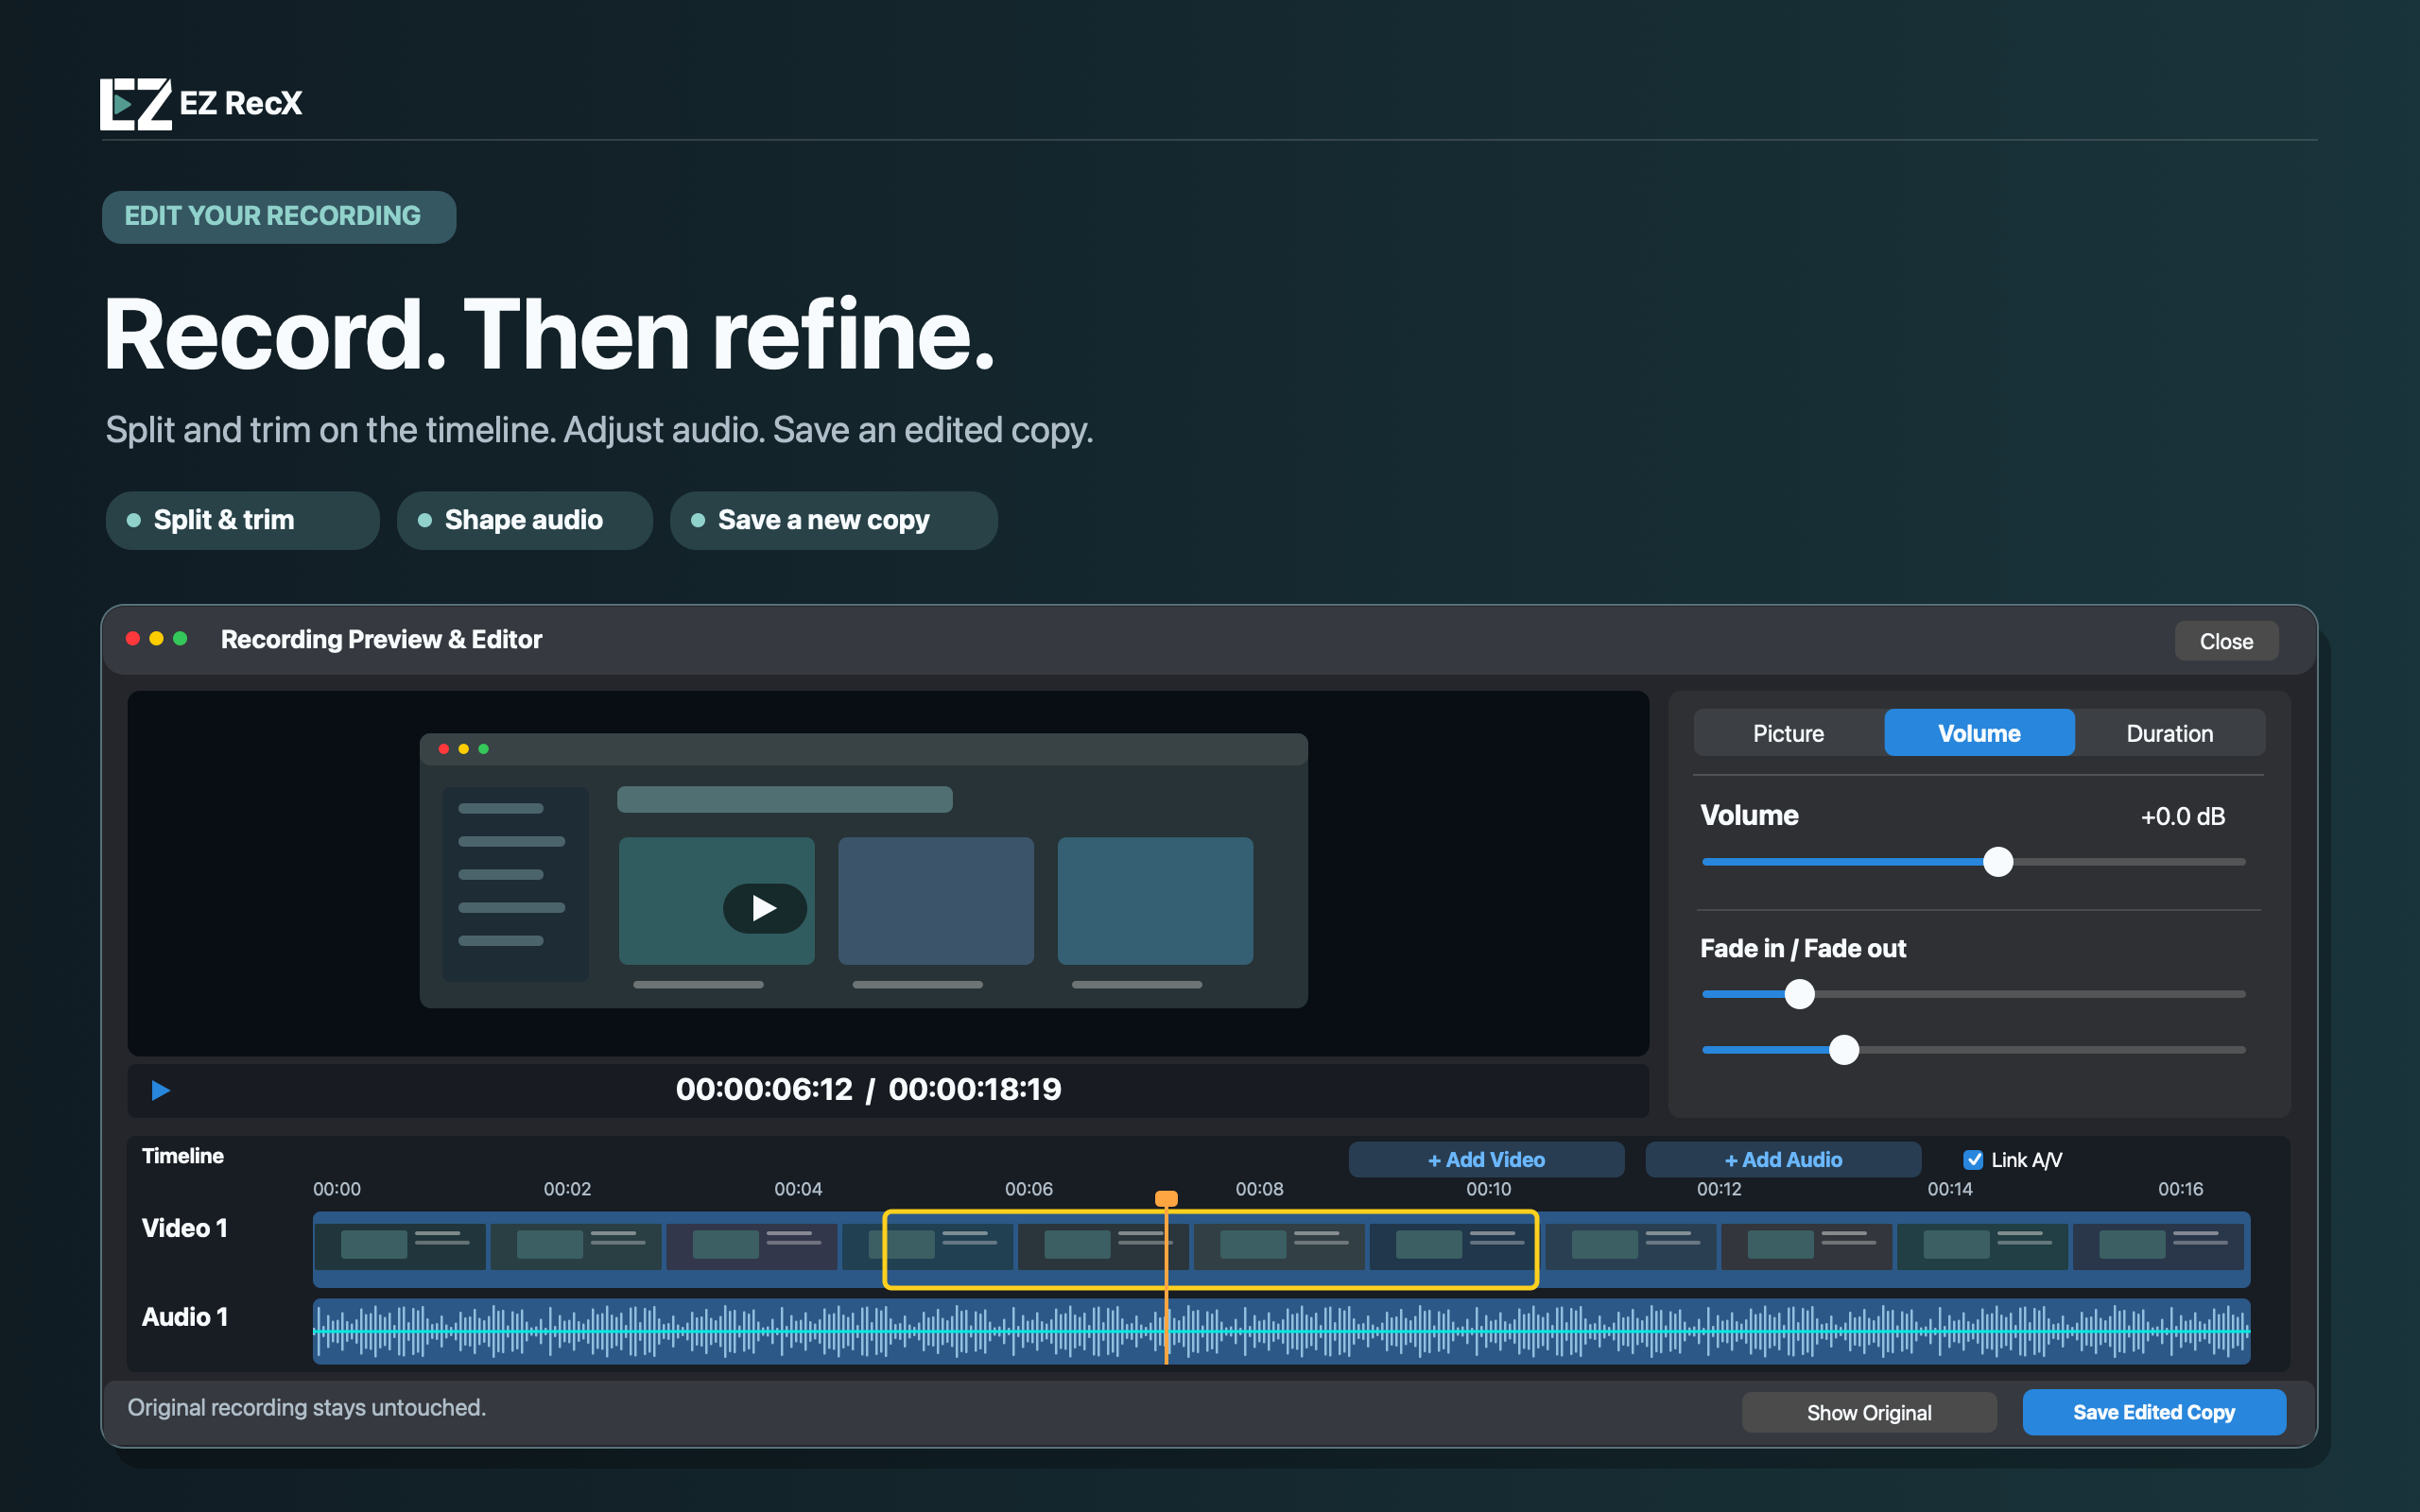
Split at the playhead, drag clip edges to trim, and snap edits into place. Remove what you do not need; later video closes the gap under the ripple-edit rules.
Start with one video and one audio track. Add a second of each when you need an upper video layer or overlapping sound.
Adjust the volume line and control points on the waveform, drag fades, and overlap two audio tracks for a crossfade.
Add a simple transition between adjacent shots, or disable picture and sound separately. Undo or redo, then choose a name and location for a copy without overwriting the recording.
04 / KEEP IT SIMPLE
No account to create.
A skippable tutorial helps you get started on your first launch.
Pick a recording mode, save location, audio source, and quality.
Grant the requested permissions. After the countdown, focus on your demonstration.
Click Stop or press ⇧ ⌘ S. Review the video, trim it, and save an edited copy.
YOUR FILES, YOUR CHOICE
Recordings can be saved as MP4 or MOV. Save edits separately so the original stays intact. Everything is processed on your device, not uploaded to developer servers.
CLARITY THAT FITS
Choose 720p, 1080p, 1440p, or up to 4K at a target of 30 fps. Actual output depends on your capture area, display, and settings.
A FEW GOOD QUESTIONS
Yes. EZ RecX is a one-time purchase with no subscription or additional in-app purchases. Check the App Store in your region for current pricing and availability.
Requires macOS 26.0 or later on a compatible Apple Silicon or Intel Mac. This is a macOS app, not an iPhone or iPad app. Please check your operating system before purchasing.
Screen recording requires the relevant screen capture permission. Microphone and camera access require their own permissions when used. Manage them in System Settings → Privacy & Security. If macOS asks you to reopen the app, follow that prompt.
After recording, you can split and trim clips, adjust audio, and save an edited copy without overwriting the original. Workspace excludes the menu bar and Dock rather than capturing an individual window. Use Custom Area to record a specific part of the screen.
The app and this product website support Traditional Chinese, Simplified Chinese, English, and Japanese. Change the website language using the selector at the top right.
The app does not upload recordings to developer servers. Files are saved to your chosen location. If you choose a cloud-synced folder, that service handles syncing. Before recording, make sure you have the necessary rights and consent, and respect copyright and privacy.

MADE FOR YOUR NEXT IDEA
One purchase. No subscription.
Start your next story with EZ RecX.